
Using Lathe
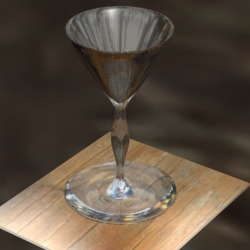
This tutorial will show you how to use the Lathe modifier to create objects such as this wineglass. The lathe modifier essentially takes a line and revolves it 360 degrees to make a solid object.
For this tutorial, you only need 3ds Max.
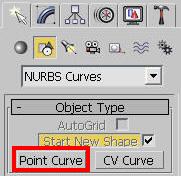
Making a lathed object is simple: draw one outline of it to serve as the exterior profile, and then apply the lathe modifier. We will use a NURBS Point Curve, since the glass is rounded. In the Create Panel, choose Point Curve.
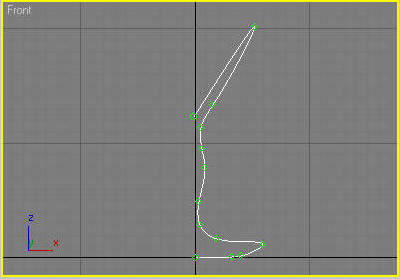
In the front viewport, draw the outline. Every click sets a point; since it is a point curve, the smooth curve is automatically interpolated between the points. The green dots in the picture below show where I clicked.
Now, go into the Modifiers and apply Lathe. Your glass will then look something like this:
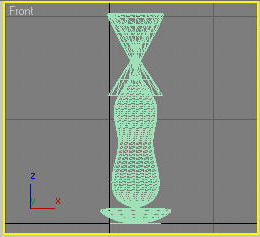
Oops. The Lathe modifier use the middle of your curve as the axis to rotate around. We want it to use the left side, but it doesn't know that. Go into your Lathe modifier and choose the Axis sub-object and move it left until you get a nice wineglass object.
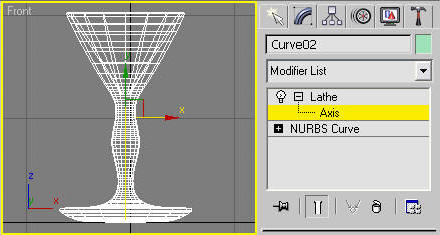
You may have to Check/Uncheck Flip Normals to make it correct. To get a smoother object, you can either increase the number of segments, or change the Output type to NURBS (may not be available in some older versions).
Render!